Creating a Custom Login Page in WordPress
WordPress, with its flexibility and extensibility, allows for the creation of custom login page tailored to specific needs. In this guide, we’ll walk through the process of creating a custom login page in WordPress using a dedicated template file.
Step 1: Create a Custom Template File
First, let’s create a new PHP file within your theme directory. You can name this file anything you like, but for clarity, let’s call it custom-login-page.php. This file will serve as the template for our custom login page that will include our custom login form and form handling logic.
Step 2: Template Structure
In the custom-login-page.php file, we define our custom template structure. This includes the PHP logic for handling the login form submission, displaying error and success messages, and redirecting users after login. Here’s a breakdown of the key components:
Template Name: Begin the file with a PHP comment specifying the template name. For example:
Check User Login Status: We check if the user is already logged in. If they are, we redirect them to the homepage or any other desired page.
/**
 * Check if user is already logged in redirect user
 * */
if (is_user_logged_in()) {
    wp_redirect('/');
    exit;
}
Login Form Handling: Handle form submissions, validate user input, and authenticate users using WordPress functions.
/**
 * Login Handle
 */

$error = "";
$message = "";

if (!empty($_POST['mb_login_nonce']) && wp_verify_nonce($_POST['mb_login_nonce'], 'mb_login_nonce')) {
    $mb_login_name = sanitize_user($_POST['mb_username']);
    $mb_password = $_POST['mb_password'];

    if (empty($mb_login_name) || empty($mb_password)) {
        $error = "All fields are required!";
    } else {
        // Attempt to authenticate the user
        $user = wp_authenticate($mb_login_name, $mb_password);

        if (is_wp_error($user)) {
            // Authentication failed
            $error = $user->get_error_message();
        } else {
            // Authentication succeeded
            // Log the user in
            wp_set_auth_cookie($user->ID, true);
            $message = "Login successful!. Redirecting...";

            // Redirect the user based on their role
            if (user_can($user, 'administrator')) {
                wp_redirect(admin_url());
            } else {
                wp_redirect(home_url('/publications-category'));
            }
            exit;
        }
    }
}
Display Messages: Display any error or success messages resulting from the login attempt.
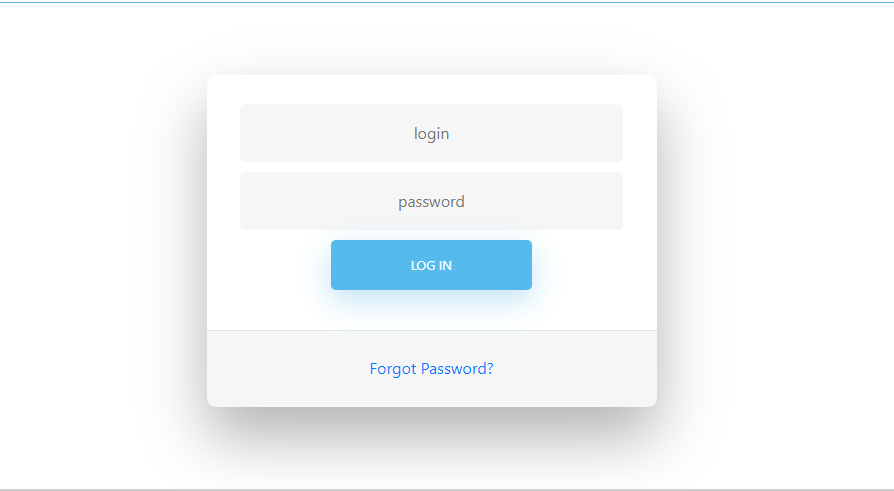
Form Markup: Create the HTML markup for the login form, including fields for username and password.
Nonce Field: Include a nonce field in the form for security purposes.
Redirect After Login: Redirect users after successful login based on their roles or to a specific page.
We added Login handle code before get_header(); Know why? Because if included later, We will get Header already sent error
Step 3: Select Template in WordPress Admin
After saving the custom-login-page.php file in your theme directory, log in to your WordPress admin dashboard. Navigate to Pages > Add New to create a new page. Give your page a title, e.g., “Custom Login,” and then select the “Custom Login Page” template from the Template dropdown on the right side of the editor.
Step 4: Customize the Login URL
To make your custom login page accessible, you can set a custom URL slug for it. For example, if your custom login page is titled “Custom Login” and the URL slug is set to “custom-login,” the login page will be accessible at yoursite.com/custom-login.
Step 5: Styling and Branding
Finally, you can customize the appearance of your custom login page to match your site’s branding. You can add CSS styles to your theme’s stylesheet or use a custom CSS plugin to style the login form, buttons, and other elements according to your preferences.
Full Example Code:
get_error_message();
} else {
// Authentication succeeded
// Log the user in
wp_set_auth_cookie($user->ID, true);
$message = "Login successful!. Redirecting...";
// Redirect the user based on their role
if (user_can($user, 'administrator')) {
wp_redirect(admin_url());
} else {
wp_redirect(home_url('/publications-category'));
}
exit;
}
}
}
/**
* Include header
*/
get_header();
?>
Login
/*replace /user-login with your page url */
By following these steps, you can create a fully functional custom login page in WordPress, providing users with a seamless and branded login experience tailored to your site’s needs. With the flexibility of WordPress templates and functions, the possibilities for customization are endless.


Leave a Reply